Showing posts with label tissue box. Show all posts

Tuesday, December 7, 2021

Tissue Box Cover/Holder Tutorial

I had a few requests to make a rectangular tissue box cover/holder so I made this basic tutorial. 

Enjoy!


Box Base: 2 pieces of cardstock measuring 9-1/2” X 3-1/8” score at 1/2’’ on one side

2 pieces of cardstock measuring 5-1/2” X 3-1/8” score at 1/2’’ on one side

1 piece of cardstock measuring at 10” X 6" score at 1/2" on all four sides


Top: decorative layer measures 8-3/4” X 4-3/4” Long Side: decorative layer measures 8-3/4” X 2-7/8” Short Side: decorative layer measures 4-3/4” X 2-7/8”


Thanks for stopping by...


Yolonda

www.craftyscentiments.stampinup.net


Tuesday, November 24, 2020

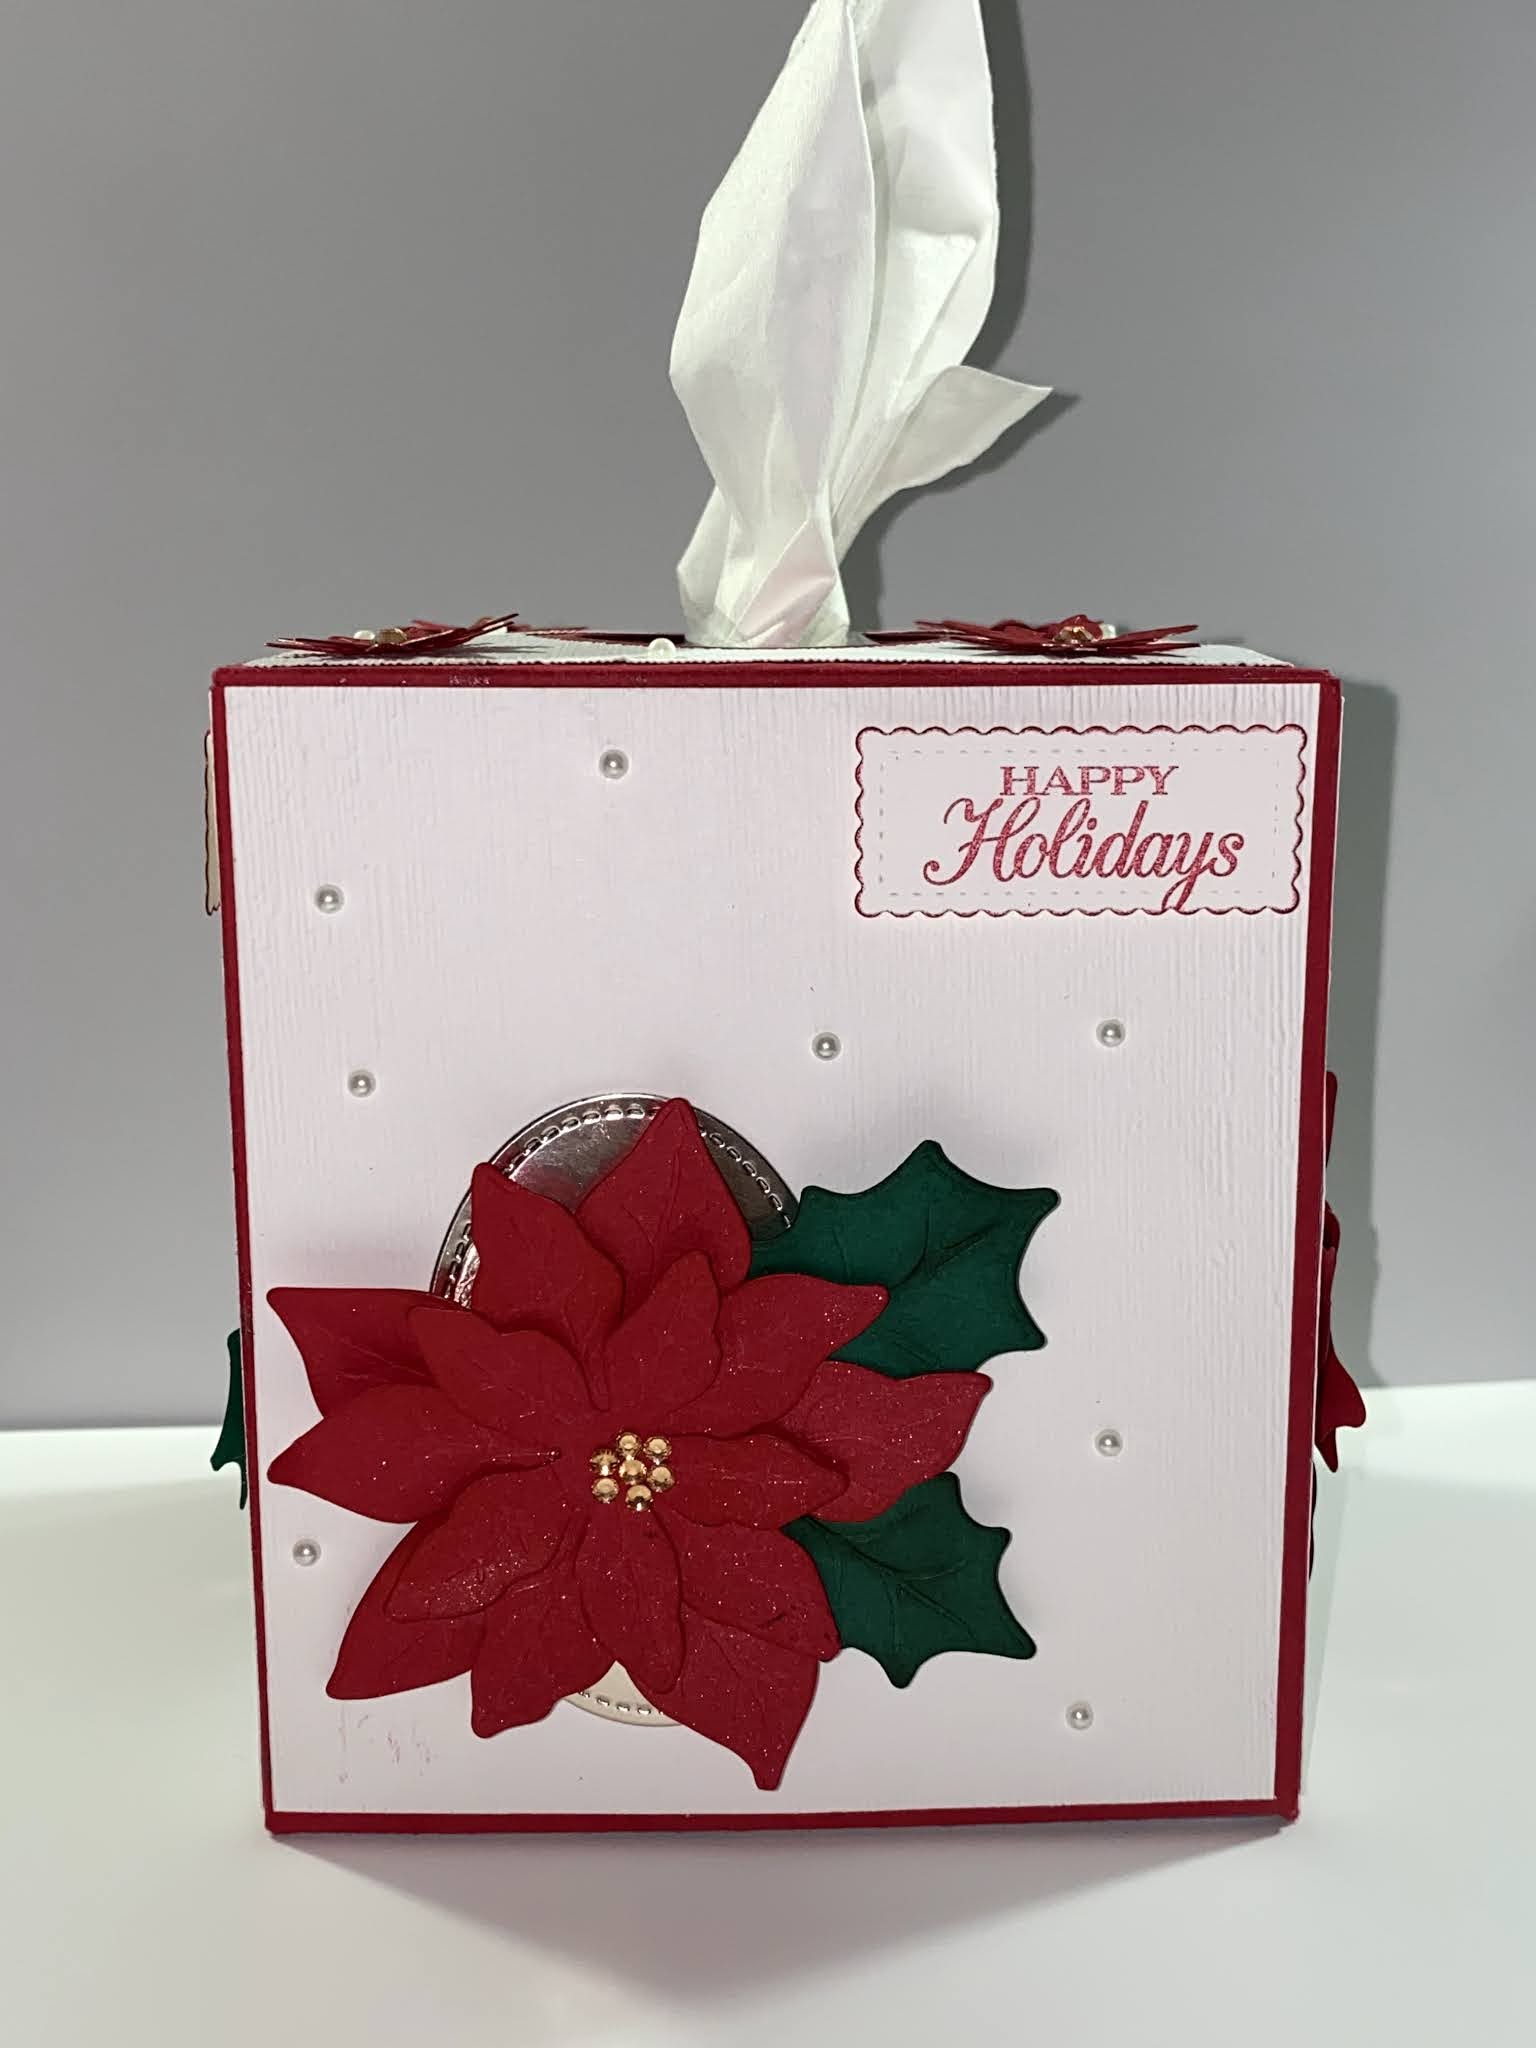
Poinsettia Tissue Box Cover

I made one of the cutest tissue boxes ever. Well I think so. I used the Poinsettia Petals Bundle by Stampin' Up! to create this cute box. I made the same design on all four sides so no matter what angle you're at you can see the cute design.


A supply list of products that I used to create this project is listed below. 


Thanks so much for stopping by...


Yolonda
www.craftyscentiments.stampinup.net

Monday, May 18, 2015

Gorjuss Girls Tissue Box

I'm on a tissue box kick and it was a lot of fun creating this one. I used a decoupage card kit for the box. The backing paper is the card blank that I cut and the images are layered which gives it lots of dimension. I only used items that were in the card kit.


Tuesday, September 6, 2011

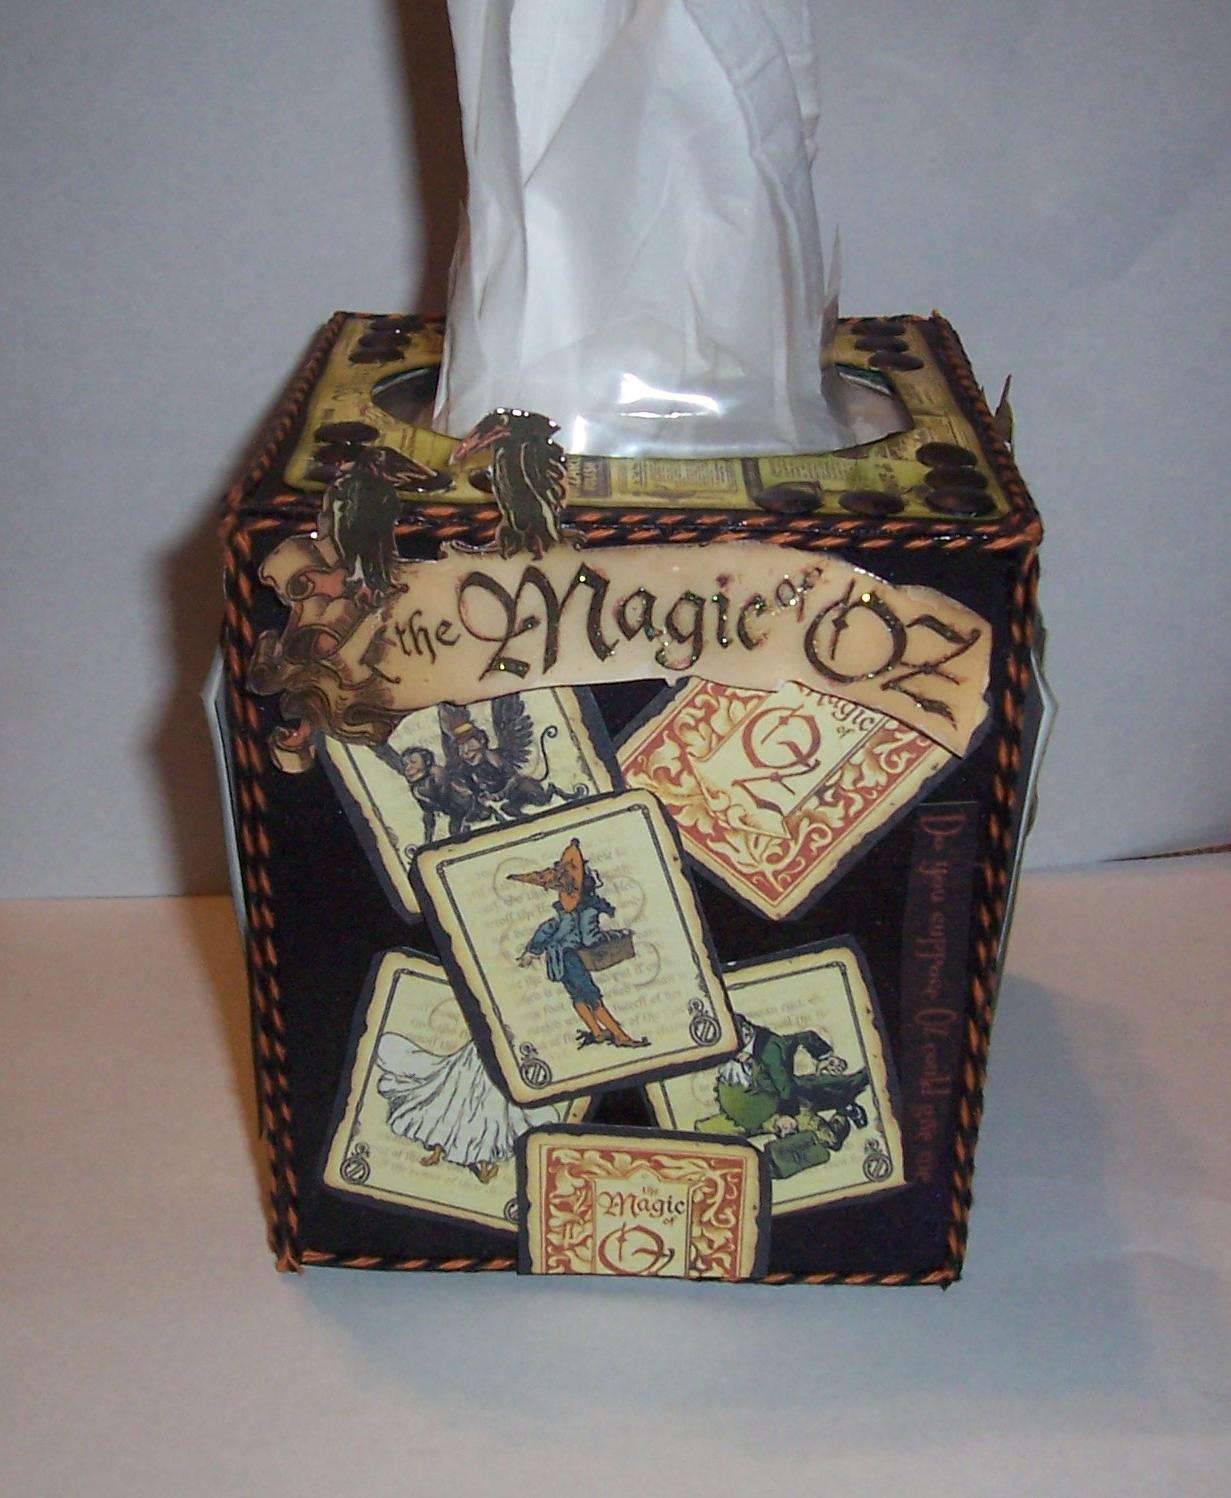
Graphic 45 Magic of Oz Tissue Box

I am in love with the paper stacks from Graphic 45. The newest one for the holiday season is called Magic of Oz. It is a take on the great story of the Wizard of Oz. I think this line of papers may be my all time favorite. I just love all of the different themes and all of the different colors.

I I decided I needed to make another tissue box to take to work and place on my desk. I used my Gypsy by Provocraft to cut out the tissue box cover. I misted the box with different colors of Perfect Pearls Mists by Ranger. Next, I outlined the sides and top of the box with twine. Then the fun part of adding different elements from the paper pack. To finish if off, I used some Stickles and CANDi (foam dots) and Glossy Accents.


Material:
Recollections paper -  Black
Graphic 45 Magic of Oz (8x8)
Ranger Perfect Pearls Mist - Grape Fizz, Sour Apple, Mandarin
Twine (Black & Orange)
Stickles - Crystal, Ruby
Glossy Accents
Pot Dots
CANDi - Vintage Berries (small paper dots)

Thanks so much for stopping by. Be sure to come back soon for some more projects using Graphic 45 papers.

Sunday, August 8, 2010

Halloween Tissue Box

I received my Happy Hauntings cartridge in the mail and I was so excited. I love Halloween and this cartridge is packed with images. I have so many ideas for decorations and things I couldn't wait to get started.

This is a basic tissue box that i created from George and Basic Shapes. I then used cut out four different silhouettes and frames to cover each side of the box. This is just the first of many that I will be making. I already have designed several more for the office and for friends.


Friday, August 21, 2009

Halloween


Today I thought I would post some of my creations that I made for halloween in the past. I usually set these up at work or at home. Now that I have the Cricut I will be making some brand new decorations. I'm going to use my PDDU cartridge to make some characters. I want to make some little villages from the new cartridge Winter Woodlands when it becomes available.
Here is a tissue box that I stitched. I love the cute teddy bear. However this one is my favorite. The dracula with the coffin filled with candy is a big hit when I set it out at work.